Get Help With File Explorer In Windows

Looking for help using File Explorer on your Windows computer? There are multiple methods available to you in order to move files around, organize folders or find new features within your file manager – here’s an article that’ll outline all the basics and some advanced techniques of using it! This article also gives tips that could make File Explorer even better than before!
File Explorer can be accessed via its icon on your desktop PC (if it exists), from taskbar or Start menu, Cortana intelligent assistant, and Quick Access and This PC views of File Explorer. In addition, settings that control what folders will appear can also be changed easily.
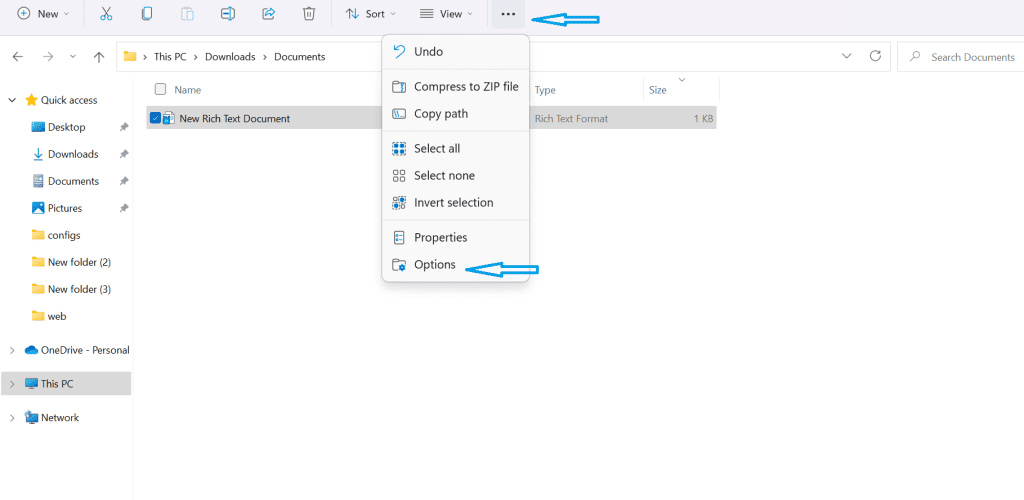
Options menu also features several settings that enable you to tailor how files appear in File Explorer, such as how large their icons and dense their list is, as well as quickly or automatically showing or hiding folders within these views. Furthermore, these settings also control when File Explorer opens or closes.
File Explorer provides several keyboard shortcuts to help you work more quickly and efficiently, such as pressing Windows logo key + E to open a new window, or the arrow keys to move up or down in file listings more precisely. For more information about these shortcuts please see the Help section of this article.
File Explorer: What You Need To Know
Windows operating systems come equipped with an inbuilt file navigational tool known as File Explorer that makes accessing files and folders simple and efficient. Originally introduced with Microsoft Windows 95, this feature remains part of every version of the Windows OS since then – including Windows 10.
File Explorer allows you to perform various actions on files and folders you select, such as copying them to other locations on your computer, changing its name or properties or moving their location. Its graphical user interface also offers features like searching and navigation through drives, folders and networks.
File Explorer provides not only a Home tab with standard icons that are displayed by default, but also offers a Share tab to facilitate sharing an item with other people or groups. For instance, this tab’s icons demonstrate options like sending or messaging an item as well as compressing files/folders to save storage space.
File Explorer can be customized in many ways, from how thumbnails and icons are displayed to which options are included on right-click menus. Its Settings page offers several such customizations; for instance, its View tab enables you to alter how items are shown by showing or hiding filename extensions, checkboxes or hidden items.
How To Use The File Explorer Ribbon
On previous versions of Windows, ribbons were composed of tabs at the top side of a window that provided you with buttons and menus for performing specific tasks, such as copying files between locations or creating new folders and viewing file information. Each tab in a ribbon contained its own set of commands that could assist in performing those actions; depending on which task was being undertaken at any particular moment in time, its structure might change accordingly and contain different commands.
Use of the ribbon can make you more efficient, helping you quickly switch between tasks with ease. However, if it becomes cumbersome or annoying to use it in File Explorer it’s easy to hide or minimize it – or even disable it permanently with this article’s simple and effective guide for Windows 11 users.
Simply click the arrow located at the top-right portion of your window to instantly remove File Explorer ribbon from view and ensure it will not return until clicked again.
Option 2 is using the Registry Editor; simply follow these steps: 1. Navigating to your ‘Blocked’ Registry Key 2. Right-click any free space in the main panel 3. Create and Name New String Value “E2bf9676-5f8f-435c-97eb-11607a5bedf7” 4. Reboot Your computer Now If all goes as planned you should now see classic old file explorer with ribbon interface
Changing The Settings In File Explorer
Windows and its file managers place great emphasis on customization, which enables users to tailor their experience based on personal preferences. One way this is accomplished is through offering various view layouts for File Explorer and folder windows.
Folder Options provides an easy way to modify the sort, view, and group options of files and folders quickly and efficiently. Simply launch File Explorer using either Windows + E or use its keyboard shortcut; once File Explorer has opened up select the File menu and change Folder and Search Options from there (on Windows 7 use File > Change Folder and Search Options, while on Windows 10/11 select Change Folder and Search Options instead).
The View tab in the Folder Options dialog provides settings to customize what appears in the left pane of File Explorer. For instance, you can choose whether folders in Quick Access section are shown as lists or tiled displays and also determine which columns to show and their order; as well as hide or show file name extensions etc.
Your File Explorer can also be set to always open to a specific folder instead of opening to Quick Access screen, and if you share your computer with others you can choose whether or not to hide recent files and folders from File Explorer. Finally, a dark theme for Windows as a whole, including File Explorer can also be specified.
Pin Frequently-used Items To The Quick Access Bar
The Quick Access Bar is the Windows 10 replacement for Windows 7’s Favorites. Your recently-used folders will automatically appear in your Quick Access Bar. However, you can also choose to pin and unpin items to and from your Quick Access Bar.
Adding and removing items to your Quick Access Bar is pretty simple. To pin a folder or file, first find it in the drop-down menu on the left-hand side of File Explorer. Then, right-click on it. This will give you the option to “Pin to Quick access.” Select this option, and the item will be pinned to your Quick Access.
To remove an item from Quick Access, simply right-click on it and then click on “Unpin from Quick access”.
How OneDrive Works in File Explorer
Once you link a OneDrive account with Windows 10, your files are automatically stored in the OneDrive folder in File Explorer. Syncing files and folders means they can be accessed whenever desired – even offline! When saving changes or saving new versions on PCs, they replace older OneDrive versions automatically; or right-clicking any file and selecting Restore Previous Versions can restore earlier versions if required.
OneDrive makes sharing files and folders simple, making it simple to send large documents, pictures, videos or any other type of file with others. Simply click on the blue cloud icon in either File Explorer or Taskbar’s notification area for easy sharing links – select recipients by name or set an expiration date or add password protection so your link stays live longer!
If you own a small business, OneDrive for Business makes setting up an easily accessible folder called, for example “Company,” easy. All company files can then be stored here without taking up additional hard drive space.
If you want to access OneDrive files and folders on your desktop computer, pinning their folder to File Explorer will make them visible. Furthermore, you have the ability to choose whether to display or hide OneDrive folders through File Explorer.
How To Back Up And Restore Files
Windows 10 comes with File History, which is a tool you can use to backup and restore files. It is important to note that you must set up File History from Settings. Don’t put this off until it’s too late!
To set up File History, go to Settings and click on “Update & Security.” From here, select “Backup”, which will give the option to “Automatically back up my files.” Make sure that this is enabled.
After you have done this, File History will keep a backup and even a version history of all of your files. This ensures that you can restore them whenever you need to.
How To Get Help With File Explorer
If you’re having any trouble navigating File Explorer, here are some ways to get help:
Search Online
The internet is a near limitless resource you can use to help you navigate File Explorer. There are many websites dedicated to helping you navigate and make the most of Windows 10. The great thing is that you don’t even have to know what they are. Simply type the question you have about File Explorer into your internet search bar, and you should find the answer in one of the top search results.
Don’t be afraid to be specific in your question. This will help you find the answer quicker. And remember, if you have a question, chances are someone has had the same one and already asked the question on online forums like Reddit or Quora. If not, you should be able to find a post about it somewhere else.
Use The Get Help App
Windows 10 computers feature an extremely helpful built-in feature known as the “Get Help” application, which offers solutions to problems and connects you with real support personnel. It can be reached either from the search menu on the taskbar, or by opening up Start and searching through its list of programs until it comes up as an option.
Once launched, the Get Help app connects users directly with a virtual Microsoft agent who can answer questions or offer instructions to resolve their problems. It is an extremely efficient solution for those needing help with their system.
For markets without Virtual Agent experience, Microsoft’s Get Help app directs users directly to an OEM’s support website or other relevant options depending on their Microsoft account and support agreement with their OEM. The exact options that appear will vary based on where your customer resides.
If you want your app to provide quick and simple ways of solving issues, such as reproducing them easily, include them when submitting it in App Store Connect. Moreover, you may request expedited review if there’s a critical bug present with its first release.
Microsoft Support
Microsoft Support provides tools and services that enable you to maximize the use of your computer or device, from proactive services that ensure solutions work as you expect, to reactive support when problems arise. Modern Support is revolutionizing customer support delivery by improving auto-healing capabilities, providing seamless support services, providing high-quality knowledge content, and offering unified agent experiences.
Microsoft Support and Recovery Assistant can help diagnose and repair issues affecting how your device or app functions. If it can’t resolve your issue, chat or phone support experts are also available for additional support.
If you need additional support, public forums provide access to other customers and experts at no extra charge; responses may take time to appear in these discussions. With an enterprise support plan in place, Microsoft can also be reached directly via phone or chat support.
Note: Be wary of scams that attempt to lure you into calling a false Microsoft support number. These scams typically display misleading error messages or warnings on your screen claiming that your PC contains viruses or is being illegally utilized and demand payment for either an up-front fee or subscription subscription for purported technical support services.
Not satisfied with self-help options? For expert support you can turn to either Microsoft partners or stores directly, with one-on-one meetings with in-store Microsoft Experts available at each. In addition, our FAQs may have the answers.
How to Use File Explorer Using Windows XP
File Explorer is an integral component of Windows that provides a centralized location for managing files on a computer. Users can quickly and easily access and view files within its single window/tab while also taking advantage of various customizable settings such as changing icon sizes for folders and files. There should be no major security risks when using Windows’ built-in File Explorer provided they practice safe computing habits such as regularly running antivirus scans on their systems, refraining from clicking suspicious links and refrain from installing third-party explorer programs that may introduce vulnerabilities.
Right-clicking files or folders and selecting “Pin to Quick Access” is an easy way to quickly add them to the Quick Access area on the left of the File Explorer window, where they’ll appear in alphabetical order: documents area folders followed by OneDrive/Teams/SharePoint drives then network drives (in this order).
Folder templates offer custom sorting and grouping based on their content, making folder creation and access easier than ever. Select one from the Options menu when creating or opening a new folder; or even have all new folders created automatically using a customized template if that suits you better.
Files and folders display information about them in the Details view, such as an icon, date of modification, size and other pertinent details. You can toggle this view in and out via the Options menu or using keyboard shortcuts; Ctrl + Mousewheel Up or Down zooms in or out.
Final Thoughts
When used right, File Explorer can be your best friend when it comes to keeping track of all your documents. Now that you understand the basics, you should find it easy to keep all your documents organized and find them easily.
If you still have any questions you need answering, or if you encounter any issues when using File Explorer, we recommend you search online for answers or use Microsoft’s in-built Get Help and Microsoft Support apps.